| |
Remote Operation of a PR2
Description:Tutorial Level:
Contents
Prerequisites
- Lucid version of Ubuntu
- These instructions were written for robot and pilot computer systems running the Lucid Lynx version of Ubuntu. The system can likely be made to work with other versions with additional work.
- Diamondback version of ROS
- A Sony PS3 "sixaxis" "dualshock 3" joystick connected to the pilot computer.
A PR2 robot running the application manager. The robot should be already be running the application manager. If this is not the case, you can show instructions here: show / hide
Set up the pilot software
This presumes you have already installed the rosinstall program on yourcomputer.
First, download, build, and run the application manager:
rosinstall ~/remote_operations /opt/ros/diamondback https://code.ros.org/svn/wg-ros-pkg/branches/trunk_cturtle/sandbox/pr2_remote_teleop/remote_teleop_pilot.rosinstall && source ~/remote_operations/setup.bash && rosmake --rosdep-install --rosdep-yes ros_applications continuous_ops pr2_remote_teleop pr2_gripper_grasp_adjust image_rotate rviz voice_chat &&roscd pr2_remote_teleop/install && sudo ./install.sh
Next you must configure the ".bashrc" on your computer. Make sure to use your robot name instead of "prm", use this command to make the change:
echo "source $HOME/remote_operations/setup.bash; export ROS_MASTER_URI=http://prm:11311" >> ~/.bashrc
Remote Operation
Localize the Robot
Before you can drive the robot, it needs to know where it is on the map.
From your desktop "Applications" menu, choose Applications->Science->PR2_Map_Navigation.
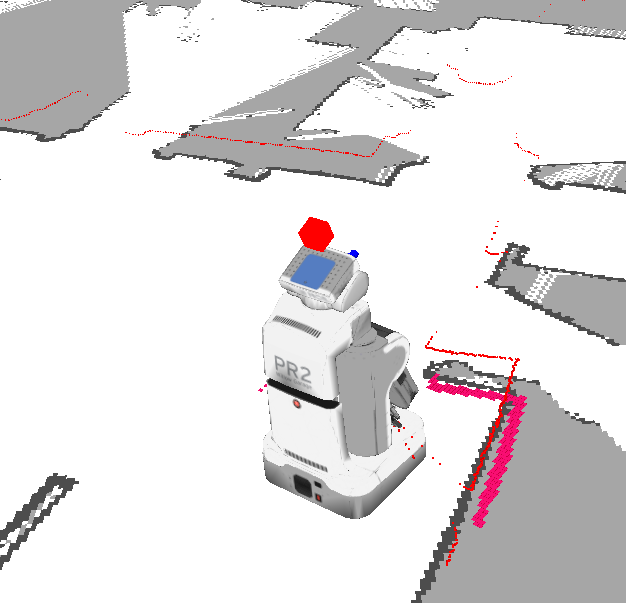
- This should bring up rviz with a video feed from a head camera and an overhead view of the robot on the map. If the robot is on the corner of the map and not in its actual location, it needs to be localized.
- Use the mouse in RViz to change your viewpoint such that you can see the map.
- Click on "2D Pose Estimate" at the top of RViz.
- Now press the mouse button on the map where the robot really is and drag a bit with the button down to indicate the direction the robot is facing.
- The base laser scan (in red) should help show how far out of alignment your guess is, and you can click "2D Pose Estimate" to try again if you didn't get it very accurate the first time.
Now you are ready to start running the robot. Make sure the robot is not plugged into wall power or plugged into the wired network before causing the base to move.
From your desktop "Applications" menu, choose the "Science" section, in which you will find a number of robot applications you can run.
Available Applications
Claim Robot
Use this to make the robot leave "continuous operations" mode. The low-battery threshold is set to 30% and the continuous operations monitor won't tell the robot to drive around when its bored.
Release Robot
Use this to make the robot enter "continuous operations" mode. The low-battery threshold is set to 55% and the continuous operations monitor will tell the robot to drive around after the battery fills up.
Map Navigation

This brings up rviz with a video feed from a head camera and an overhead view of the robot on the map.
- Command the robot to drive to a new location with the "Navigate" button at the top of RViz.
Remote Teleop

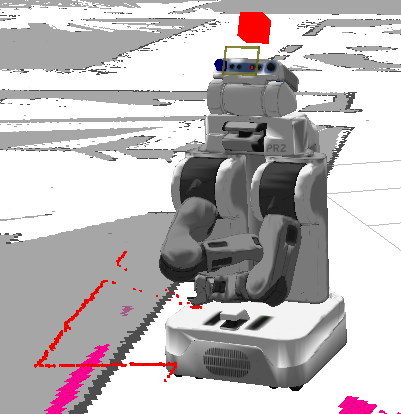
Control the base and all of the joints of the robot with a PS3 joystick.
When RViz starts up, it often starts with the head camera display enabled but not actually showing. If you don't see a video feed at the start, un-check "Camera1" and re-check it. The camera view will likely appear in an inconvenient location, but you can drag it to a better spot on your screen or within RViz.
The teleop application has 5 different joystick modes. Switch between modes by holding "Start" and pressing one of:
L1: view-control mode, to change your viewpoint in RViz.
Up: head-control mode, to point the head and toggle the texture projector.
Down: base-control mode, to drive the base and spine.
Left: left-arm mode, to control the left arm.
Right: right-arm mode, to control the right arm.
Each time you switch into a new mode, the terminal which started up with the teleop application will show a printout of the joystick control mapping for the new mode.
Audio Chat

Create an audio connection between the client (pilot) computer and the robot. Currently only PRM actually has a speaker and a microphone to make this work.
A double volume control should appear to control outgoing and incoming sound levels.
Continuous Operation Monitor

Continuous_ops_monitor does not drive the robot most of the time, it just watches the battery level and starts the recharge process as needed.
Plug In Now
When you are done with the robot, use this to send the robot off to plug itself in and recharge. (There is no GUI associated with this yet, so you won't get any feedback about what it is doing.)
Application Manager GUI

This is a debugging tool to see which robot modules are running and to manually start and stop them.


